Esta guía explica cómo configurar DNS de GoDaddy paso a paso sin cambiar de registrador.
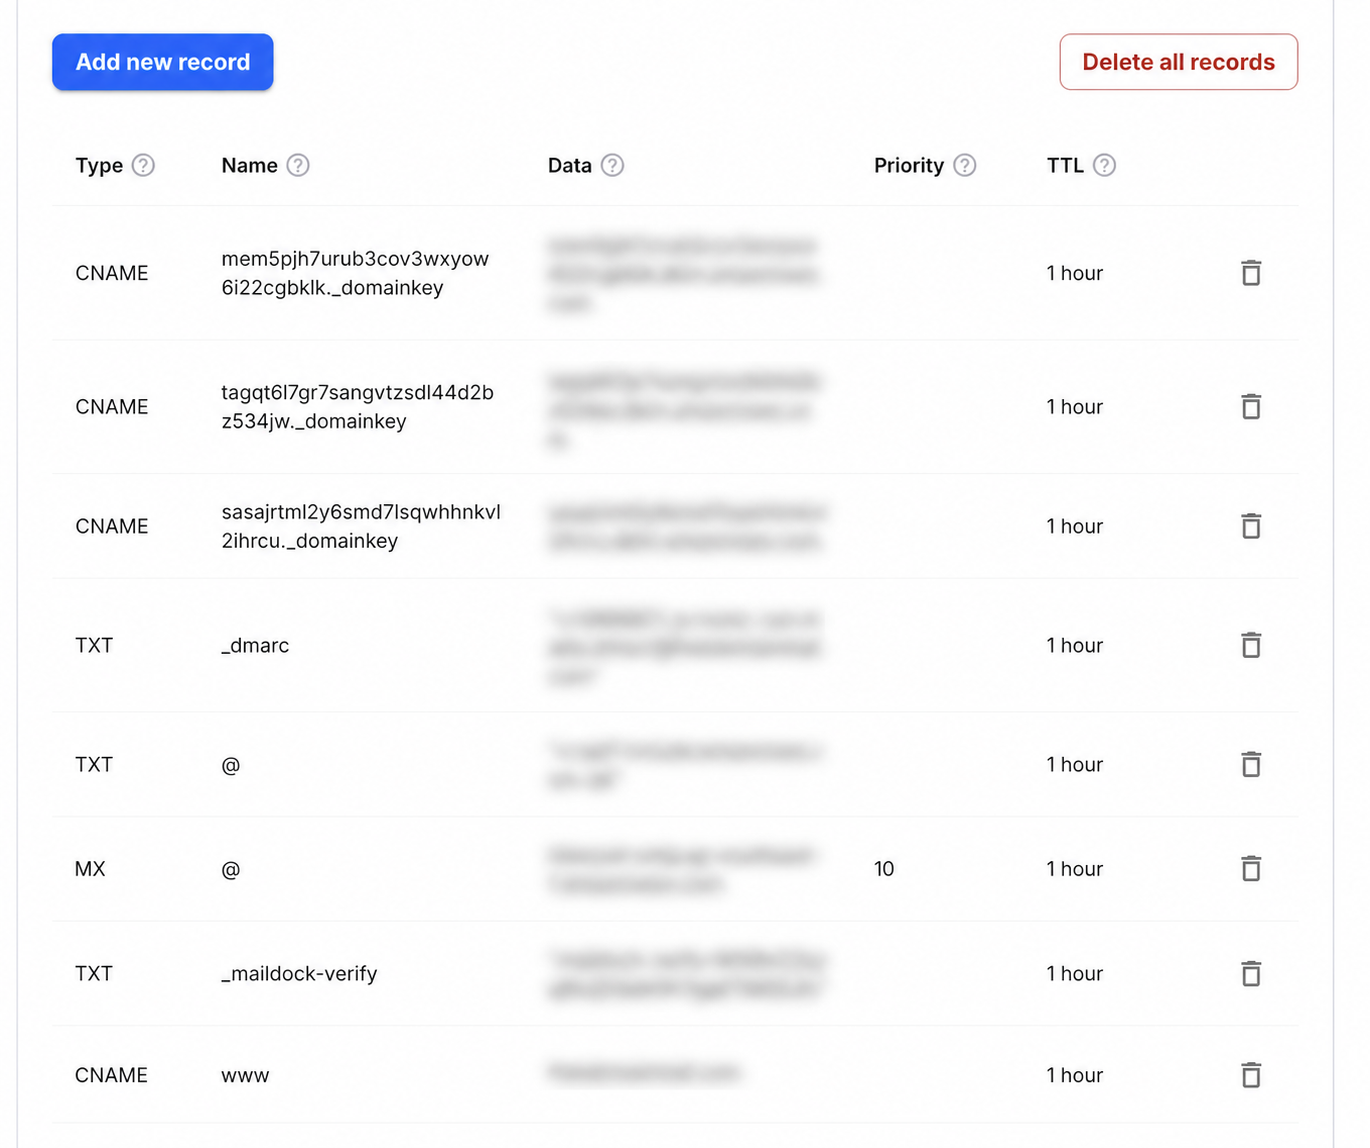
Step-by-step setup
- 1Sign in to GoDaddy, open Domain Portfolio and select the domain.
- 2Choose DNS, then confirm the nameservers shown are the ones currently authoritative.
- 3Select Add New Record and add a TXT record with Name _maildock-verify and the maildock-verify=… value shown in the app; if the editor wants the full name, use _maildock-verify.yourdomain.com.
- 4Add an MX record with Name @, Value mx.freedomainmail.com and Priority 10, then delete any other MX records for the domain.
- 5Wait for propagation, then run DNS Checker below; once both records pass, every address at the domain receives mail.
What goes in each DNS field
| Type | Name / Host | Value / Data | Priority |
|---|---|---|---|
MX | @ | mx.freedomainmail.com | 10 |
TXT | _maildock-verify | maildock-verify=… (shown in the app) | — |
TXT | @ | SPF (v=spf1 …): only if you send from another provider; if a v=spf1 record already exists, merge senders into that one v=spf1 record | — |
TXT | _dmarc | v=DMARC1; p=none; …: only if you send from another provider | — |
Interface reference: GoDaddy: manage DNS records. Always copy the domain-specific values shown inside your Free Domain Mail setup.
Antes de empezar
Identifica tu dominio y el proveedor de DNS antes de añadir los registros para DNS de GoDaddy.
Configuración paso a paso
Copia exactamente el host y el valor de DNS de GoDaddy; evita duplicados y no añadas el dominio raíz por segunda vez.
Comprobación después de publicar
Espera la propagación de DNS y ejecuta la comprobación. Si falla, compara cada carácter y el TTL.
Common mistakes to avoid
- Error frecuente: crear registros duplicados, repetir el dominio en Host o usar un valor antiguo.
Preguntas frecuentes
¿Cuándo se activa un registro DNS?
Normalmente tarda de unos minutos a unas horas según el TTL y el proveedor.