本文用清晰步骤说明如何配置 GoDaddy DNS,无需更换域名注册商。
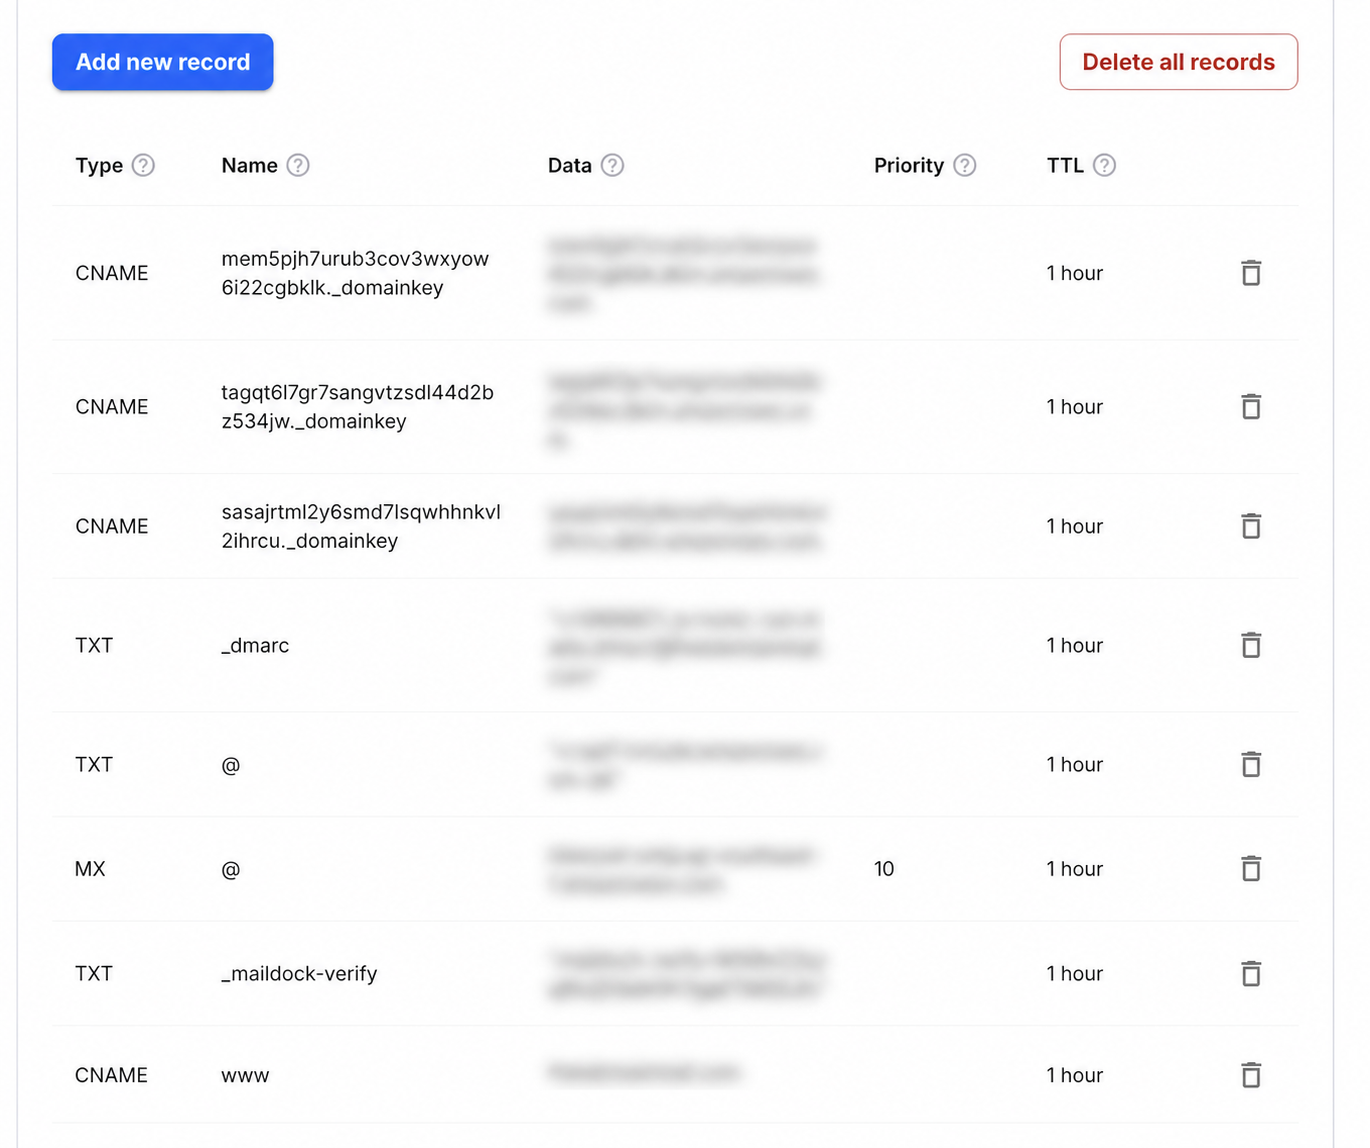
Step-by-step setup
- 1Sign in to GoDaddy, open Domain Portfolio and select the domain.
- 2Choose DNS, then confirm the nameservers shown are the ones currently authoritative.
- 3Select Add New Record and add a TXT record with Name _maildock-verify and the maildock-verify=… value shown in the app; if the editor wants the full name, use _maildock-verify.yourdomain.com.
- 4Add an MX record with Name @, Value mx.freedomainmail.com and Priority 10, then delete any other MX records for the domain.
- 5Wait for propagation, then run DNS Checker below; once both records pass, every address at the domain receives mail.
What goes in each DNS field
| Type | Name / Host | Value / Data | Priority |
|---|---|---|---|
MX | @ | mx.freedomainmail.com | 10 |
TXT | _maildock-verify | maildock-verify=… (shown in the app) | — |
TXT | @ | SPF (v=spf1 …): only if you send from another provider; if a v=spf1 record already exists, merge senders into that one v=spf1 record | — |
TXT | _dmarc | v=DMARC1; p=none; …: only if you send from another provider | — |
Interface reference: GoDaddy: manage DNS records. Always copy the domain-specific values shown inside your Free Domain Mail setup.
开始前
先确认域名和 DNS 托管商,再添加与 GoDaddy DNS 相关的记录。
逐步设置
准确复制 GoDaddy DNS 的主机名和值;不要创建重复记录,也不要重复附加根域名。
发布后检查
等待 DNS 生效后运行检查工具。如果失败,请逐字符比较记录和 TTL。
Common mistakes to avoid
- 常见错误:重复记录、在主机字段重复填写域名,或使用过期的值。
常见问题
DNS 记录多久生效?
通常需要几分钟到数小时,取决于 TTL 和 DNS 服务商。