Bài viết này giúp bạn cấu hình DNS GoDaddy theo từng bước, không cần thay đổi nhà đăng ký domain.
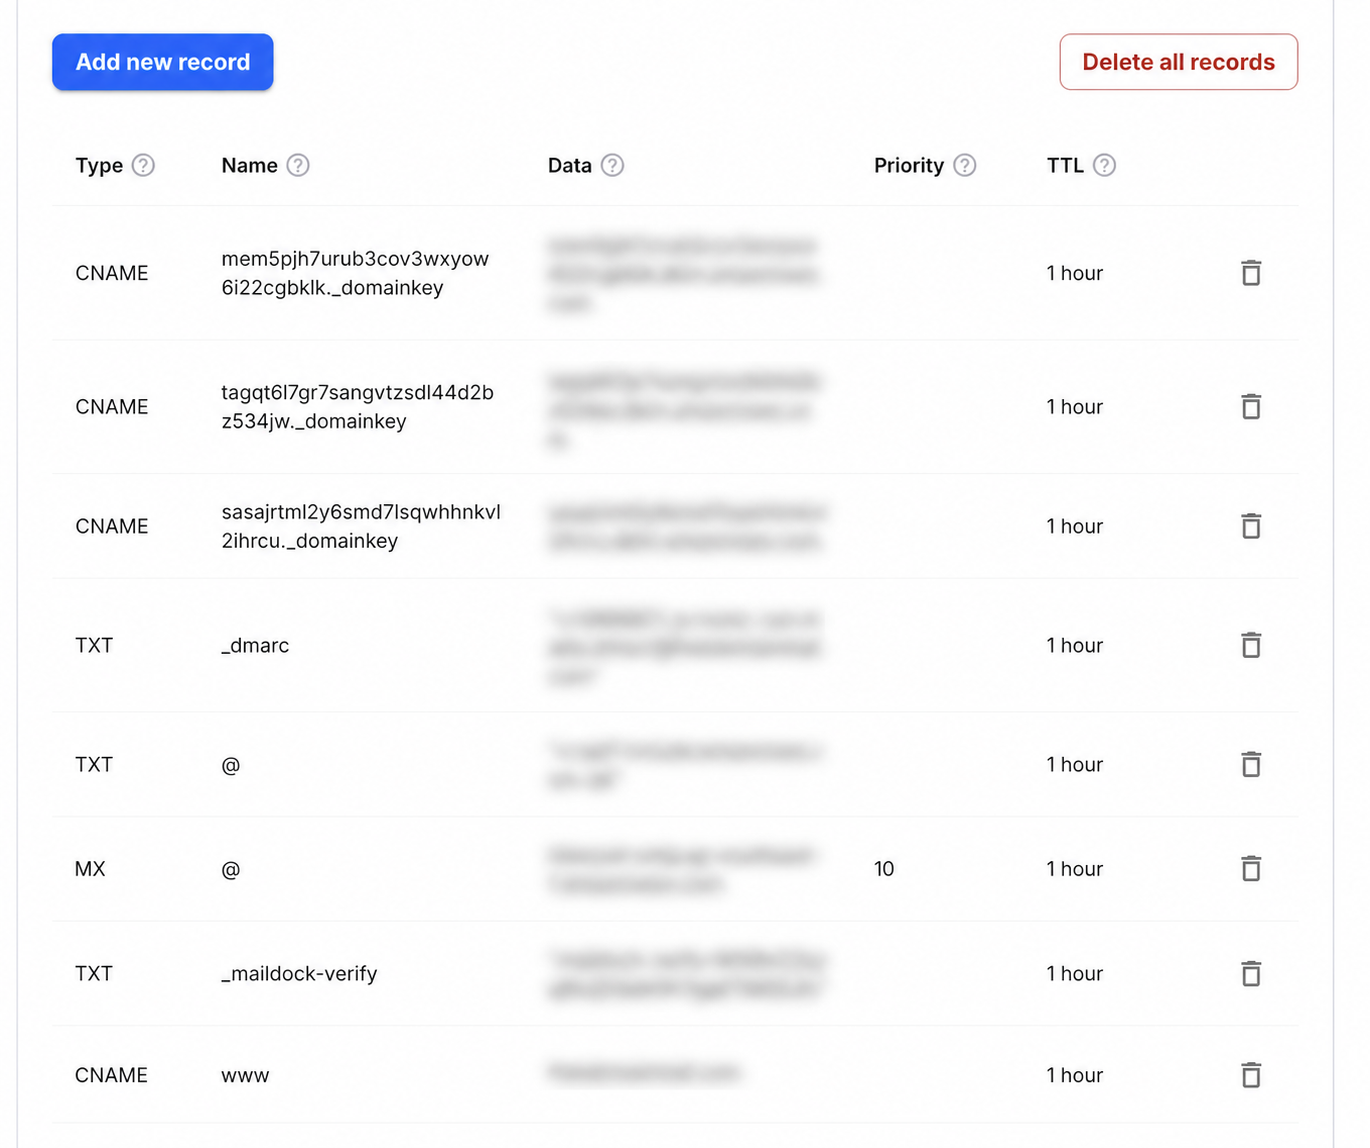
Step-by-step setup
- 1Sign in to GoDaddy, open Domain Portfolio and select the domain.
- 2Choose DNS, then confirm the nameservers shown are the ones currently authoritative.
- 3Select Add New Record and add a TXT record with Name _maildock-verify and the maildock-verify=… value shown in the app; if the editor wants the full name, use _maildock-verify.yourdomain.com.
- 4Add an MX record with Name @, Value mx.freedomainmail.com and Priority 10, then delete any other MX records for the domain.
- 5Wait for propagation, then run DNS Checker below; once both records pass, every address at the domain receives mail.
What goes in each DNS field
| Type | Name / Host | Value / Data | Priority |
|---|---|---|---|
MX | @ | mx.freedomainmail.com | 10 |
TXT | _maildock-verify | maildock-verify=… (shown in the app) | — |
TXT | @ | SPF (v=spf1 …): only if you send from another provider; if a v=spf1 record already exists, merge senders into that one v=spf1 record | — |
TXT | _dmarc | v=DMARC1; p=none; …: only if you send from another provider | — |
Interface reference: GoDaddy: manage DNS records. Always copy the domain-specific values shown inside your Free Domain Mail setup.
Trước khi bắt đầu
Xác định domain và nhà cung cấp đang quản lý DNS trước khi thêm bản ghi DNS GoDaddy.
Thiết lập từng bước
Sao chép đúng tên bản ghi và giá trị DNS GoDaddy; không tạo bản ghi trùng hoặc tự thêm domain lần nữa.
Kiểm tra sau khi công bố
Chờ DNS cập nhật rồi chạy công cụ kiểm tra. Nếu chưa đạt, so sánh từng ký tự và TTL.
Common mistakes to avoid
- Lỗi thường gặp: tạo bản ghi trùng, dán cả tên domain vào ô Host hoặc dùng giá trị cũ.
Câu hỏi thường gặp
Khi nào bản ghi DNS có hiệu lực?
Thông thường vài phút đến vài giờ, tùy TTL và nhà cung cấp DNS.