Blog
Set up email DNS on GoDaddy
Reviewed by the Free Domain Mail editorial team · Updated
GoDaddy DNS uses record fields for Type, Name, Value and TTL. Add records exactly as shown by the mail provider, preserving existing services.
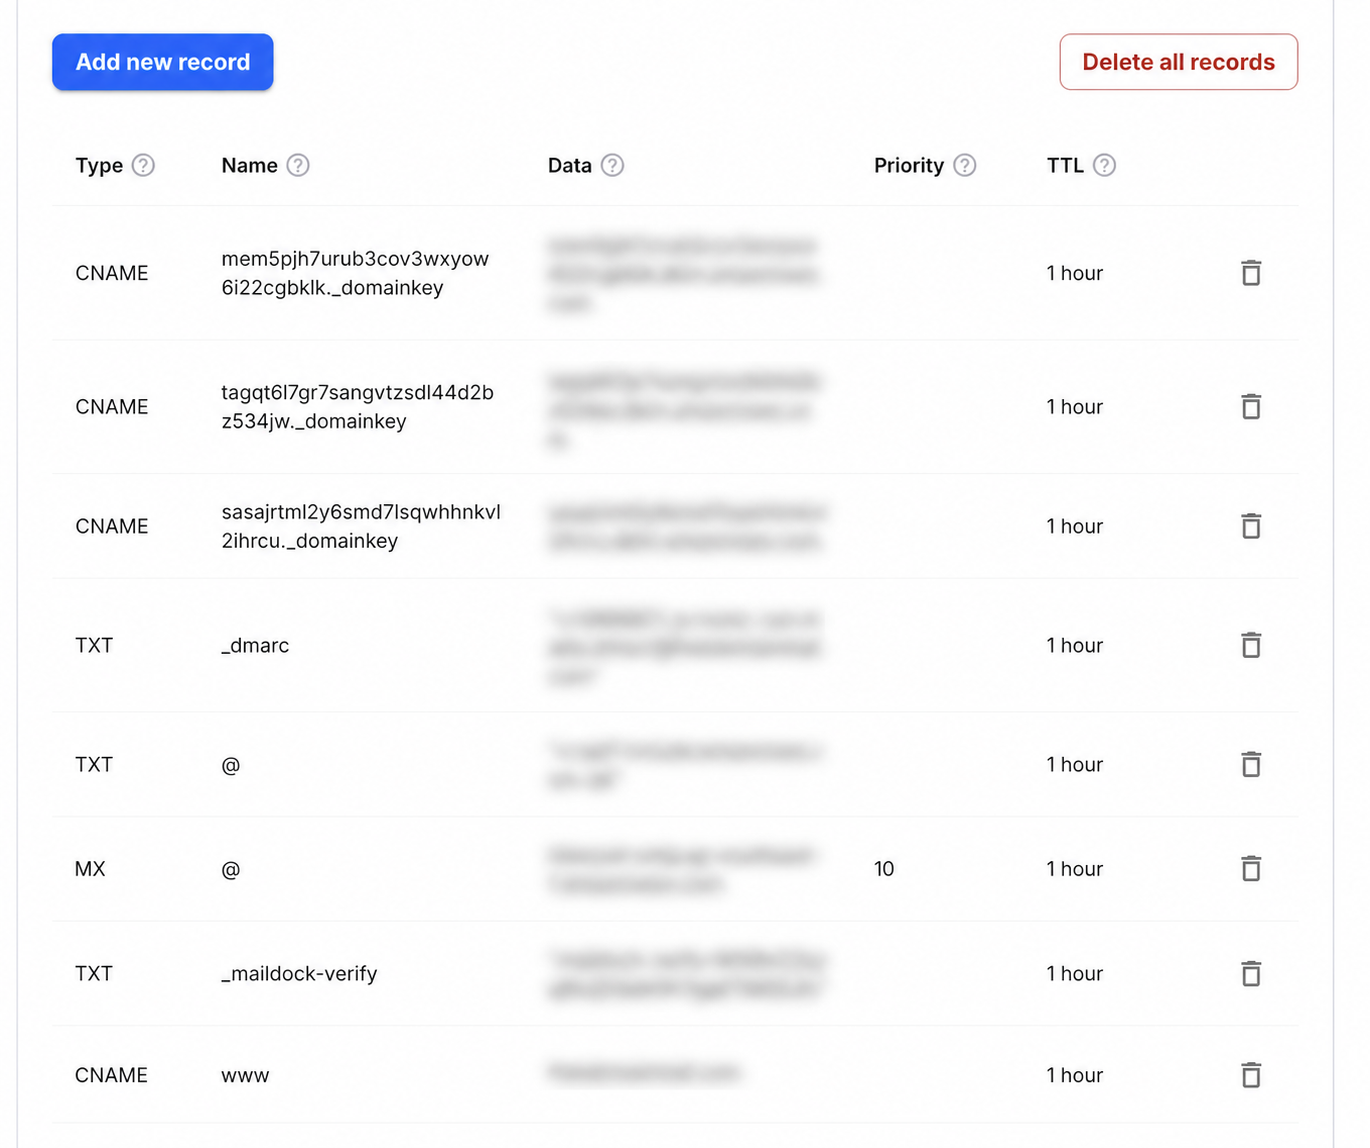
Step-by-step setup
- 1Sign in to GoDaddy, open Domain Portfolio and select the domain.
- 2Choose DNS, then confirm the nameservers shown are the ones currently authoritative.
- 3Select Add New Record and copy one record at a time from Free Domain Mail.
- 4Review MX priority and the existing SPF record before saving.
- 5Wait for propagation, then run DNS Checker below.
What goes in each DNS field
| Type | Name / Host | Value / Data | Priority |
|---|---|---|---|
MX | @ | Use the inbound target shown in your mailbox setup | 10 |
TXT | @ | Use the SPF value shown; merge with an existing v=spf1 record | — |
CNAME | selector._domainkey | Use the DKIM target shown in setup | — |
TXT | _dmarc | Start with v=DMARC1; p=none; … | — |
Interface reference: GoDaddy: manage DNS records. Always copy the domain-specific values shown inside your Free Domain Mail setup.
Add records safely
Open the domain's DNS settings, choose Add new record, then select the requested record type.
Use @ for root records where GoDaddy expects it. For DKIM, copy the selector and target exactly.
Review existing mail
Before changing MX, check whether the domain already receives mail through another provider.
Do not overwrite an existing SPF record; merge all permitted services into one SPF value.
Common mistakes to avoid
- Replacing MX records without checking existing mailboxes.
- Mistaking Priority for part of the MX target.
- Creating duplicate SPF records.
Frequently asked questions
Do I need a trailing dot?
Use the value format shown by GoDaddy and your provider; its DNS interface normally handles fully qualified names.
Can I keep website records?
Yes. Website and email DNS records usually coexist.
Technical references
Primary specifications and provider documentation relevant to this guide: