Blog
Set up email DNS on Squarespace Domains
Reviewed by the Free Domain Mail editorial team · Updated
Squarespace Domains provides a DNS settings area where you can add the record type and values required by an email provider.
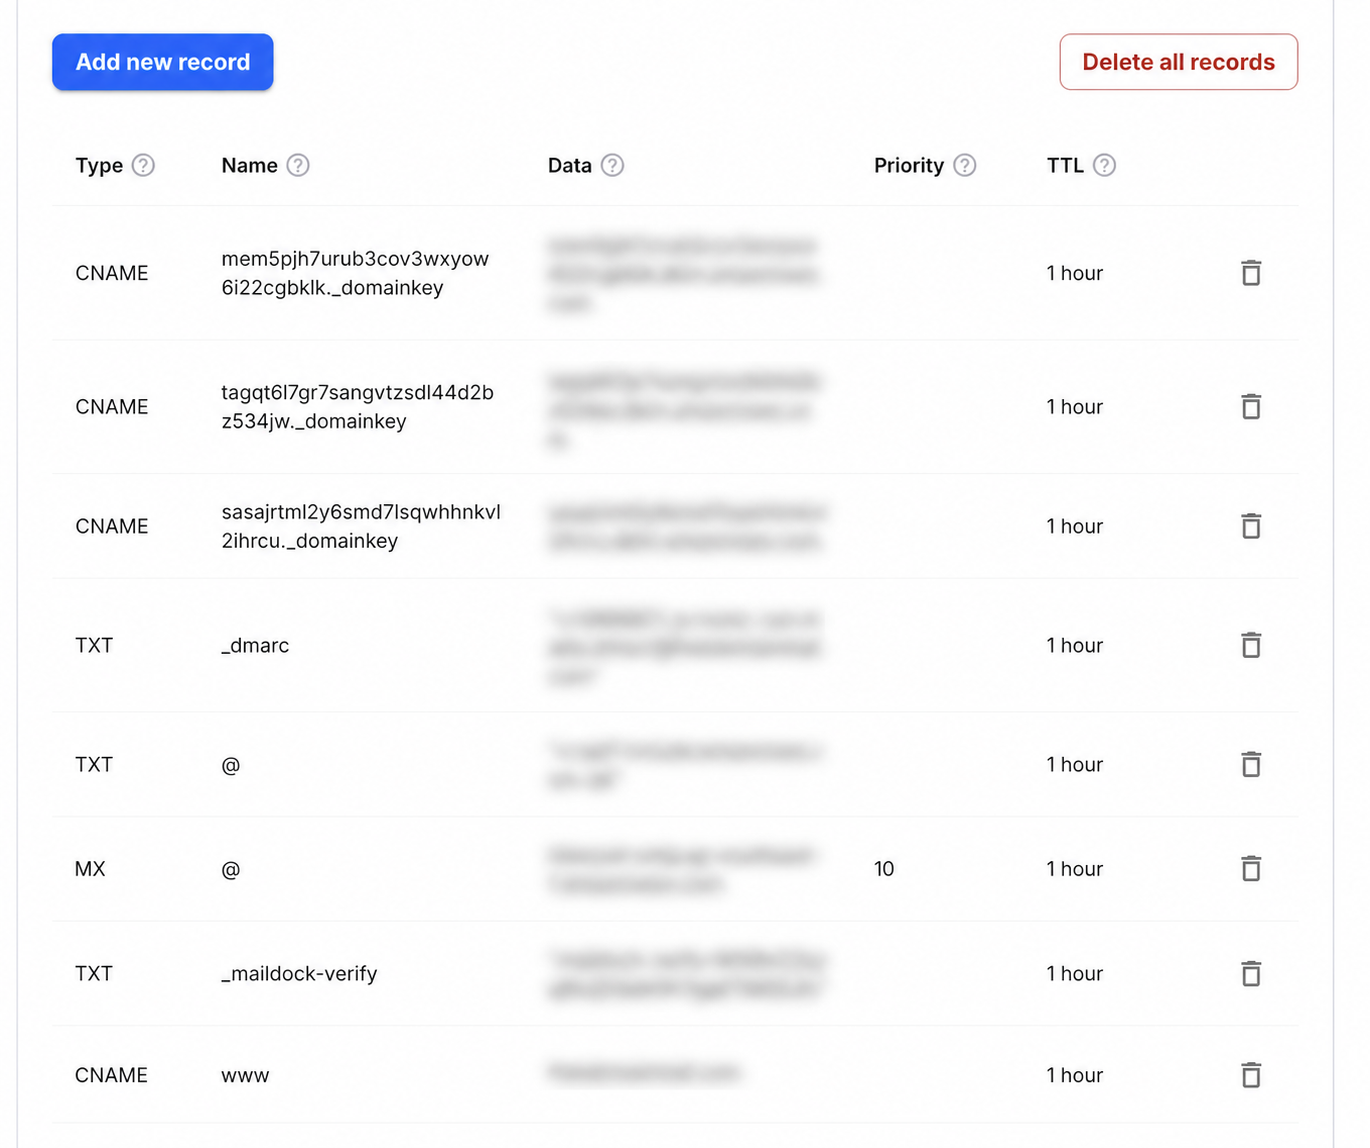
Step-by-step setup
- 1Open the Domains dashboard and select the Squarespace-managed domain.
- 2Open DNS Settings and find Custom Records.
- 3Choose Add record and select MX, TXT or CNAME as required.
- 4Enter a relative Host value; do not append the domain twice.
- 5Save each record, then run DNS Checker after propagation.
What goes in each DNS field
| Type | Name / Host | Value / Data | Priority |
|---|---|---|---|
MX | @ | Inbound target supplied by Free Domain Mail | 10 |
TXT | @ | SPF value supplied in setup | — |
CNAME | selector._domainkey | DKIM target supplied in setup | — |
TXT | _dmarc | v=DMARC1; p=none; … | — |
Interface reference: Squarespace: adding custom DNS records. Always copy the domain-specific values shown inside your Free Domain Mail setup.
Open DNS settings
Select the domain in Squarespace, open DNS Settings, then create the matching MX, TXT or CNAME record.
Use @ only when the interface asks for a root hostname; avoid adding the domain twice.
Protect existing services
Keep records required for an existing website or verification process.
Review current MX records before replacing them because MX controls where the domain receives email.
Common mistakes to avoid
- Deleting verification records for another service.
- Overwriting live MX records without a migration plan.
- Publishing a DMARC policy before SPF and DKIM have been checked.
Frequently asked questions
Does the registrar matter?
No. The required DNS values come from your mail provider; only the interface differs.
Which record is most sensitive?
MX changes incoming-mail routing, so review it carefully before saving.
Technical references
Primary specifications and provider documentation relevant to this guide: